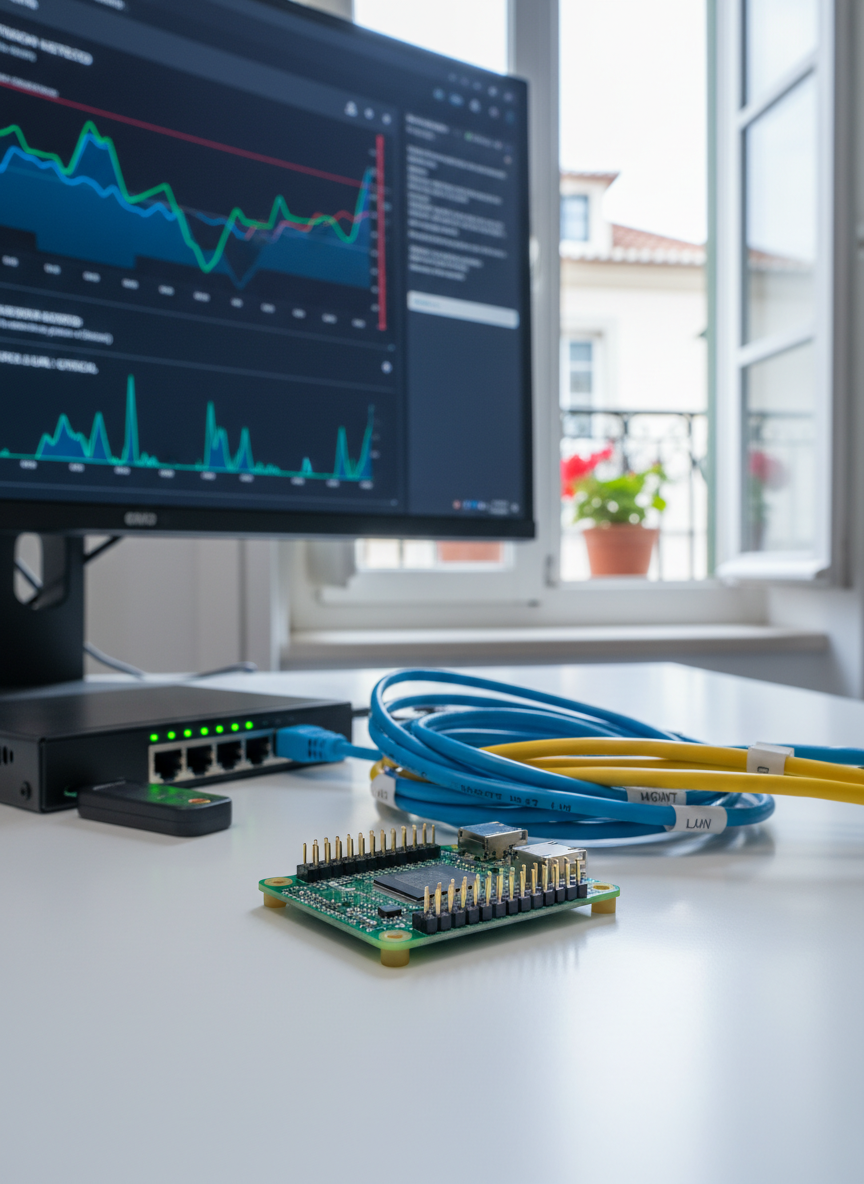
A sleek, compact Raspberry Pi board arranged at the center of a clean white desk, surrounded by neatly organized cybersecurity gear: a small network switch, labeled Ethernet cables, and a hardware security key. On a nearby high-resolution monitor, a blurred but clearly technical security dashboard glows with graphs and alerts, hinting at intrusion detection. Soft, cool daylight from a Lisbon-style balcony window washes over the scene, creating crisp reflections on the circuit board’s green surface and metallic connectors. Photographic realism, shot at eye level with a shallow depth of field, emphasizing the Pi in sharp focus while the background falls into a gentle bokeh, conveying a calm, professional, analytical mood.

Security Guides

Step-by-step security recipes, organized by topic and difficulty, from hardening basics to home intrusion detection.

Tutorials

Hands-on how-tos and lab guides, no fluff.
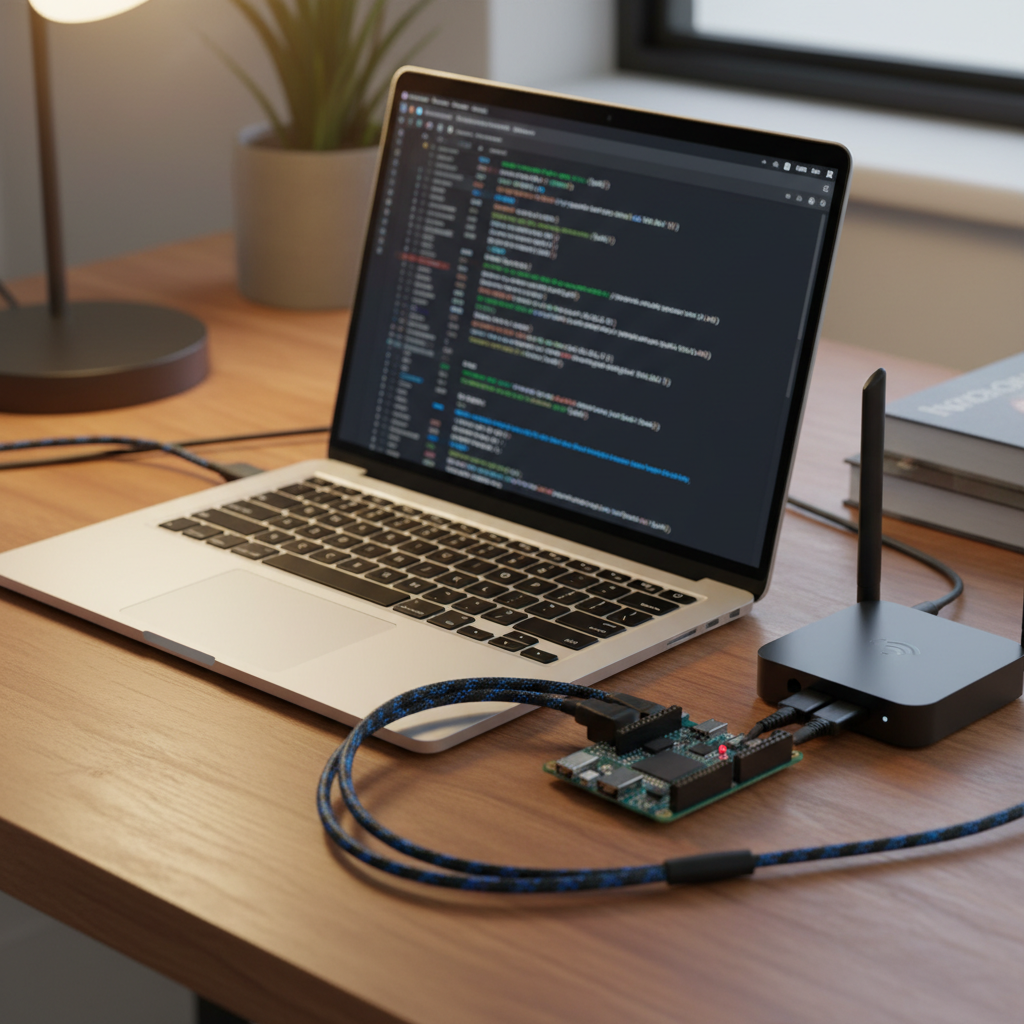
A slim laptop open on a wooden table, its screen displaying a dark-themed terminal running an Ansible playbook that configures hardened servers, with colorful syntax highlighting slightly out of focus to avoid readable text. Next to the laptop, a Raspberry Pi with a tiny blinking LED is connected via braided cables to a compact router. Evening indoor lighting from a warm desk lamp casts soft golden reflections on the laptop’s metallic chassis and creates mild shadows along the cable runs. Photographic realism from a three-quarter elevated angle, with a clean, modern composition and a focused, methodical atmosphere suited for a cybersecurity automation blog post.

Choose Your Security Path

Start with beginner guides for passwords, VPNs, and safe browsing, move to intermediate Raspberry Pi labs, then dive into advanced Ansible automation. Use the tags and levels on each post to follow the path that fits you.